top of page
Nuke 3d and camera Projection
opened nuke x . to bring in render cam:
-
file - open comp
-
Nuke 3d space cam projections
-
generic
-
nuke scripts
-
tunnel cam projections

Brought up image file:
-
followed smae steps as top but after generic I pressed R in read node , clicked cam projections, Tunnel, then the jpeg image.

-
Went into the 3D space by pressing the tab where it says 2D at the top. Brought in project3D node and then cylinder. bring in scene node afterwards.
2. Added the scanline render, connecting to render cam and viewer


After this, I rotated the cylinder to mimic the tunnel. selected cylinder 1 in node graph and rotated it 90 degrees and scaled it in y axis. I then copied the render cam node and attached it to the project 3d node. ( video below of process)

Nuke 3D tracking
Opened this scene in nuke x
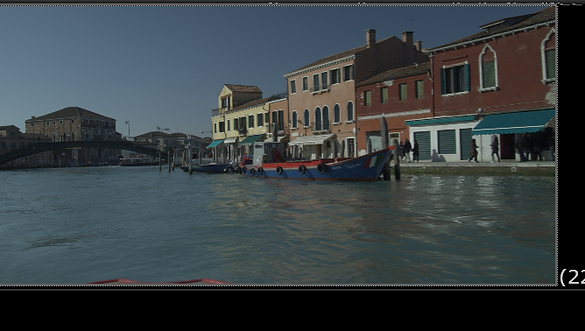

Next I disconnected the RD at the bottom and added a camera tracker node

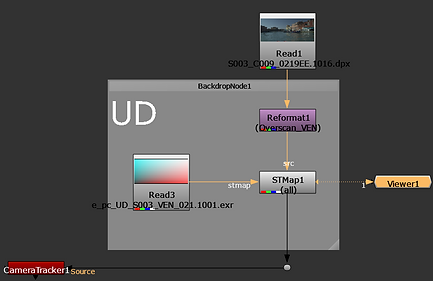
Then I double clicked camera tracker 1 then solve.
next I set up the camera for the scene
I then applied an image to the card


Then I painted out the patch :
Now i will apply the patch :
3D equalizer
To open a file I pressed :
-
Environments- basic
-
under scene on left double clicked on yellow line under cameras
-
click on browse
-
click on top bar and navigate to downloaded file
It is important to set the lens settings to this first before by double clicking on default lenses to bring up the attribute editor:

The lens identifier depends on which camera im using
To start tracking:
-
CTRl and click to set marker then guage marker then track.
-
deselect marker to track another point- ALT and click
Tracking the markers on the floor:
Tracking sticker on computer:
To see how well the scene tracks , I brought up the deviation browser by clicking "Config" at the top then " add horizontal plane" then "deviation browser" and it bring up a graph like this:

Afterwards information needs to be inputted into the graph by clicking : Calc at the bottom then Calc all from scratch and then use result. This brings up the camera points. when I click use result it brings up the green line on the deviation browser.


Now to see the points I click deviation browser, show point deviation curves, then all points. Also ALT and click and dragging on deviation browseris to see the individual tracker points.
Now that I have my tracked points I did the lens adjustments by clicking windows, parameter adjustment windows :
Then clicked Alt + c to give the results of the lens adjustment
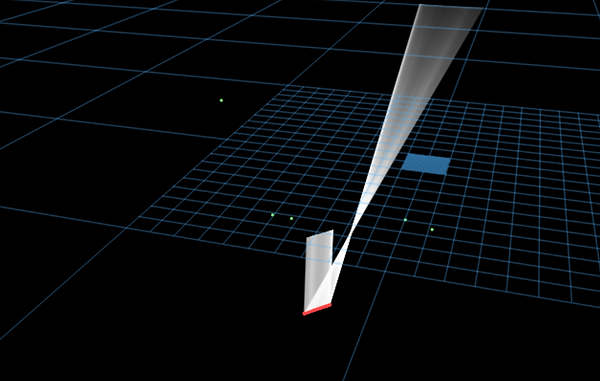
To save a project !!: click 3DE4 ON bottom , save project as , and type a name where it says file!! eg. Sene_Track_001_07_.3de
To Open a project : click 3de4 on bottom - open project.
Assignment 1:
Firstly I imported this scene into 3d equaliser and went to (playback > export buffer compression file then overwrite )so the scene can play smoothly.
To get a low deviation I adjusted the focal length and sensor size of the scene using survey data. Firstly , I double clicked on default lens and made sure these were the settings
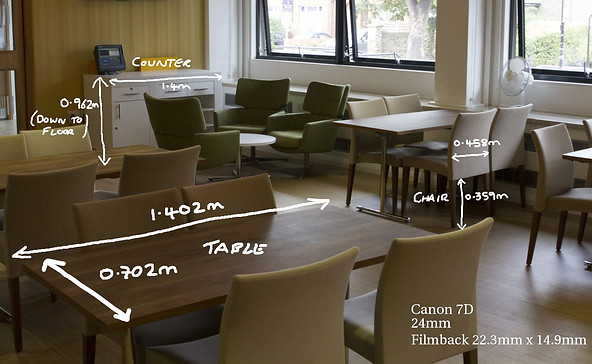

Next I started tracking my scene

-
Afterwards I brought up the deviation browser for my scene by clicking ( config> add horizontal plane> deviation browser.
-
Then went to Calc at bottom , Calc all from scratch then use result
-
Next clicked deviation broswer , point deviation curves , all points

To get more accurate settings I changed the parameter attributes
I then aligned the scene aswell as as adding the locators and geo objects

To get this view I changed the manual tracking tab to lineup controls, so it says lineup at the top:

Now I baked the scene
To bring in the assets exported from 3DE I firstly, opened Nuke x and pressed "R" in the node graph to bring in the scene file.

Next I connected the nodes together

Finally I cleared the fire exit sign then used the write node to render my scene , and then put it in after effects.
Final render:

Lens distortion and grids
Firstly i imported this scene in 3de and Then tracked it
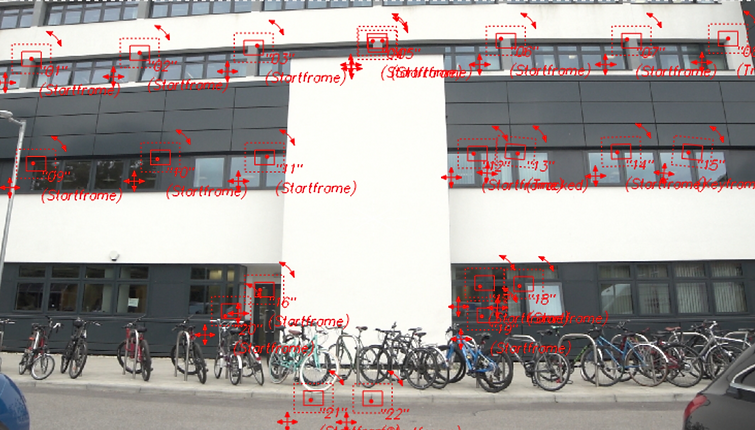
Next I set a constraint for the shot

Next I lowered the deviation value by changing the distortion of the scene

Finally I used a grid to do the lens distortion of the scene
Dynamic lenses

Tracked the scene
Brought in a curve editor to add more data
Then press alt c then use result

Tracked a few more points
Assignment 2 : green screen project
For this assignment , the aim is to add in a 3D asset to the filmed footage
Imported my scene into 3de . Then I went to playback , export buffer compression file .

I then double clicked lenses and ,made sure these settings were set

Next I tracked the scene, I clicked points and changed it to marker , when tracking markers to get a better track
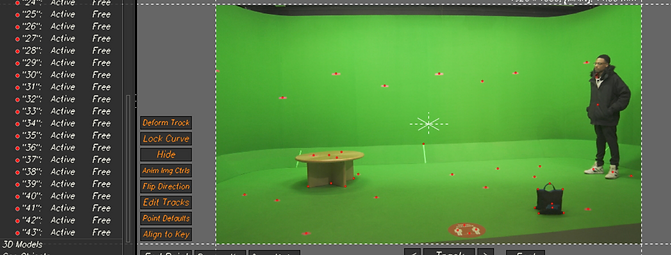
Afterwards i pressed alt c to calculate the results then i pressed use result . Brought up the deviation browser ( config, add horizontal plane , deviation browser).

Next I changed the parameter attributes of the scene

I then aligned the scene , by going to lineup and in the deviation browser making sure to turn on show all point curves. Then I selected three points by holding alt shift and dragging around a marker
First i went to edit bake scene and then exported the assests and brought them into nuke x.
opened Maya 2020 and brought in the mel script.
finally i added the 3d weight
model in the scene
Finally i rendered the scene
I then went into the original nuke file with my scene

Finally i cleaned up the trackers
Final render:
bottom of page