top of page
Bullet Rigid Bodies
Our task was to create a domino simulation in maya
Firstly , I selected the poly cube and made the depth - 0.6 , height - 6 and width 3 in attribute editor . After I went to pcube1 and put the translate to 3.

Next I went to edit , duplicate special options ( translate -2 , number of copies 20) then pressed apply


Next , selected the dominoes , active rigid body options , changed collider shape margin value .001, apply and close .
Next I created a polyplane for the dominoes
Finally
-
selected pcube 1 and changed the inital velocity to -20
-
bullet solver 1 gravity to-980 , internal frame rate 240hz


selected all cubes changed mass to 0.1
Final video
N cloth
First was the Ncloth setup . I chose a poly plane and set it to values under polyplane 1 .


Selecting polyplane1 I went to the fx tab and went to ncloth, create n cloth options ,then pressed create cloth

Then moved the plane up and rotated it . selected the nucleus 1 in the outliner and under nucleus1 in the attribute editor pressed use plane
Next I moved the poly plane a bit higher and brought in a polyclinder , changing the radius to 0.25 and the height to 30


Next I moved the pole to the side and put the subdivisions height to 20

Finally i selected two vertices then the pole and went to ncontsraint point to surface, create contstraint.
(Assignment 1 part 1)Artefact destruction : falling dominoes
Firstly, I created a physical skylight .
then adding wood texture to the floor by going to assign new material> blinn > press box by colour> file


Next i adjusted the settings of the skydome and physical sky light to brighten the render view
Finally i downloaded a chess piece from Turbosquid.com and animated it to move when all the dominoes fell. Firstly I pressed S on the keyboard in its first position , clicking the next position on the time slider , then moving it .

Final render:
Assignment 1 part 2 :N cloth

Final render:
N particles
Firstly, I created the point particle emitter using n particles

Secondly, I created the balls particle emitter

Introduction to bifrost liquids
Firstly I selected the poly sphere and poly cube , and changed the poly cube attributes to the values on the right

Next I changed the pshere to emitter in outline , then went to Bifrost fluids under fx tab then liquids
Next I changed some bifrost settings
Bifrost graph particles
Part 1 : setting up the particles
went to windows bifrost graph editor ,
Next I connected the mesh to the geometry and the particles to the output particles

clicked particle_solver_settings then turned off the gravity
Part 2 : setting up colour property
within source particles , right clicked on additional properties , create node set property

next I pressed tab in graph editor and typed in vary_source_property
Part 3: Modifier influence
I changed the size of the particles and the colour
Part 4: turbulence influence
Assignment 2 : Environmental effects three scenarios
Natural scenario: (water in cup)
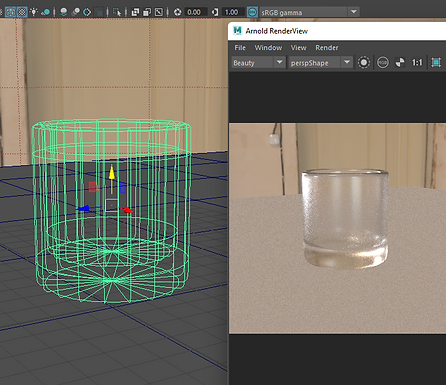
Firstly, I imported this glass model from turbosquid.com and reapplied the glass texture

Next I made the water interact with the glass

Finally I changed the colour of the water using the hypershade
I got rid of the skydome and made the black background. Also pressing alt and b on the keyboard

Fantasy Sci -Fi: Scenario(rocket with steam and sun in background ( video)
Downloaded this rocket model from turbosquid.com
part 1 : setting up the rocket animation
Part 2 : Making the smoke emitter
part 3 : Making the smoke appear
Part 4 : Changing extra settings
Part 5:attaching emitter to rocket
part 6 : Making smoke collide with floor
Finally I made a aiphysical sky light and brough the sun into the scene
Final fantasy - Sci-Fi rendered video:
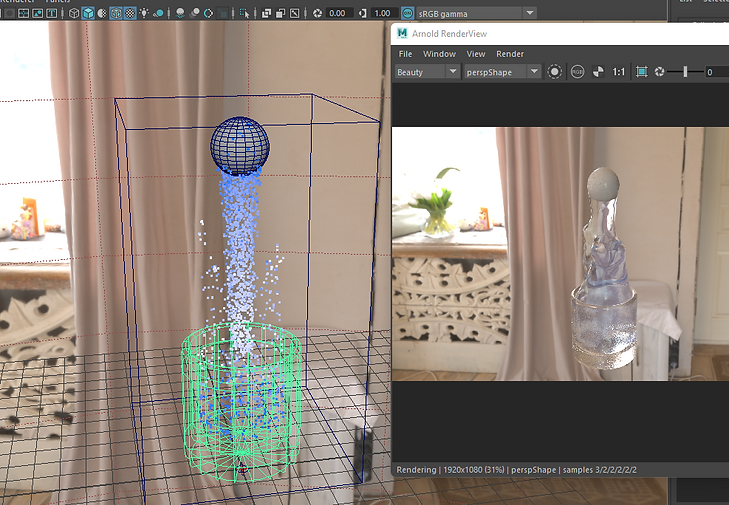
surreal : Particle alien ball
For this surreal scenario I extended upon the particle graph i did for the lesson and made a fractal noise field

Next I cached and rendered out the scene
Final surreal scene still image render:

bottom of page